FRANCHISE PRODUCTS

VIRTUAL BOARD

V-Board

VBOARD USER MANUAL

Program Installation and Usage Instructions

Run the VBoardInstall exe file

VBoardInstall_v1.1.2.10

Select “Yes” to install
The language supported by the current OS is set as default.
Select the language you want to install, then select “confirm”
After checking the components, click on “install”.
Installation will run
After the installation is complete
If you click on “end” VBoardPen will run
After installation is complete
you can check the tray icon.
Click on VBoard on the
desktop or start menu to run it
In the case where the program
If the license is valid, it will be
authenticated.
Registration is complete

PEN

You can choose the size and color of the pen.

MARKER

You can choose the size and color of the marker.

PEN ERASER

Only erase selected parts where your mouse moved over

ERASER

Erase the entire page

DRAWING SHAPES

You can draw squares, circles, triangles,
stars, straight lines, and arrows.

ZOOM

You can enlarge, reduce, or return
to the original size of the screen.

NAVIGATION

When you use the zoom function,
the navigation feature is shown on the lower right portion.
By moving around the navigation’s black screen area,
you can adjust the position shown.

RECORDING

In the case where a microphone is connected,
the video is recorded with sound,
if you click once more, recording will stop.

FOLDER

Open the folder where the recorded video was saved.
If you play the video, you can watch the video in the video player

UI LOCATION

Change the location of the button collection bar
It can be changed to left, bottom, right, and floating positions.

IMPORTING FILES

Office Files (PowerPoint, MS-Excel, MS-Word), Hangeul (hwp), Image files (jpeg, png, bmp)
You can select and open files supported in the open file
If it is an image file, the image is immediately imported.
When the document conversion is complete, it is added to the document.

SAVING DOCUMENTS

All information on the added page can be saved as a Powerpoint or PDF file.

TEMPLATE

The most frequently used document type can be designated as a template.
Add the selected template to the page.
You can click the Left and Right < > marks to move the template page

MY BOARD

Shows the templates previously used. Add the selected template to the page.
Use when selecting a frequently used template.

Preferences

This consists of Note Settings, Monitor Settings, Shortcut Settings, and Product information
Area capture: Capture a part of the screen.
Full screen capture: Capture the entire screen.
Back: Return to VBoard mouse mode without screen capturing.

Move page

Move Vboard page

End program

At the far right, when exiting the program, if there are any changes to the document, will be saved after confirming whether to save it.

Program update

Program update

Update

Select “Yes” to update the program The update will run automatically,
After the update is complete, restart the program.

VBoardPen

Run VBoardPen and Connecting VBoardPen
Double-click ‘VBoardPen’ at the desktop,or double-click
on VBoardPen at the start menu to run the program.

VBoardPen runs automatically when the computer starts
Connect the VBoard Sensor to the computer USB port

If successfully connected, a connection message at the
bottom right of the screen will be displayed.
Message if connection is lost while trying to connect

Connecting VBoardPen

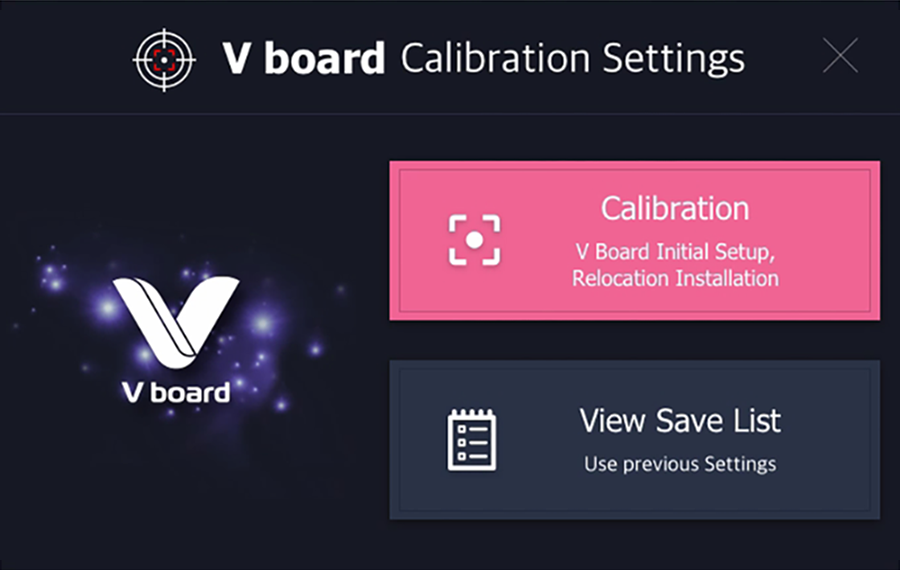
Setting up the touch screen
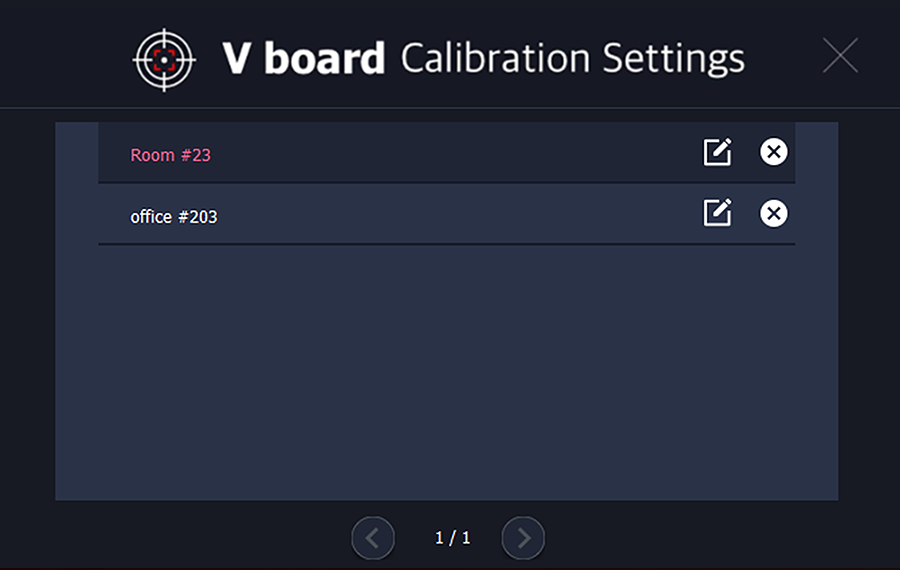
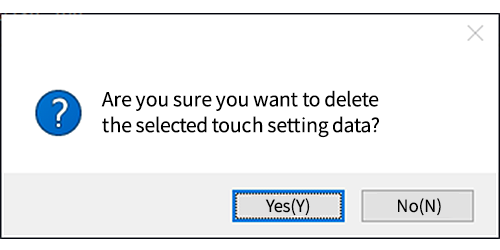
In the touch screen setting, settings history is shown.
If there are multiple VBoard sensors in use, you can select
and use the settings of each installed sensor.
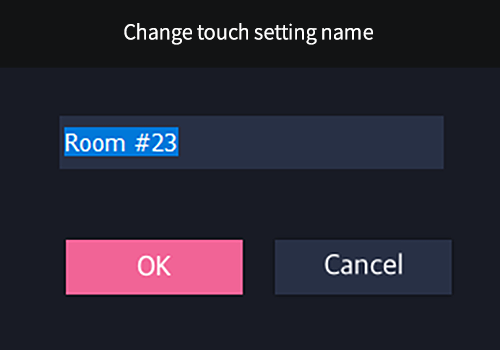
Rename : Change the name of the save list
Enter desired name and click OK to save
Delete saved settings

Touch Screen Settings

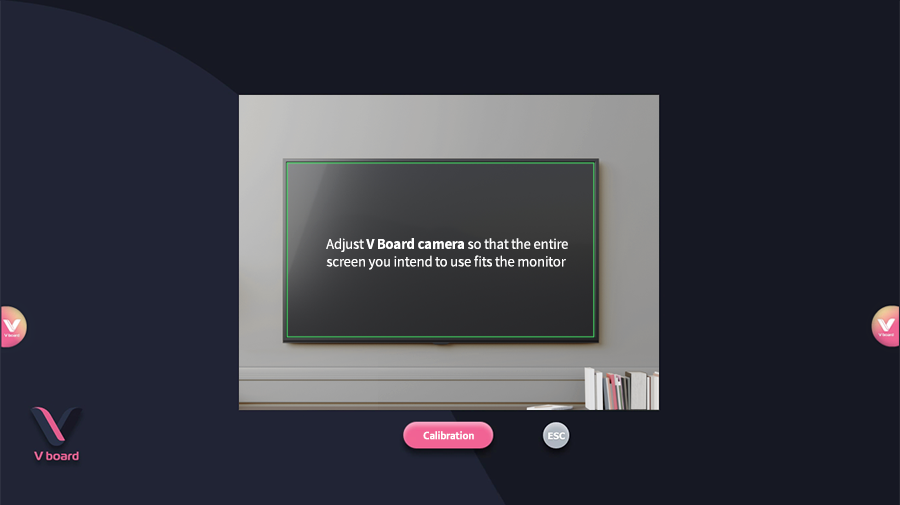
Setting VBoardPen touch screen
Adjust the direction of the sensor so that the screen of he
monitor or projector gets in.
After adjusting the sensor, click the button
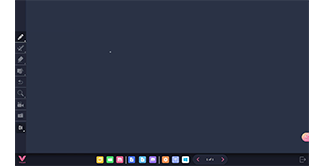
When the program is running,
the display area of the screen such as TV, monitor, and
beam projector is automatically detected.
Execute auto-calibration (program recognizes the screen display area automatically) again.
Execute manual calibration (program recognizes the screen display area manually) again.
Applies the recognized result to the current screen display area.
If the program does not automatically detect the display
area of the screen
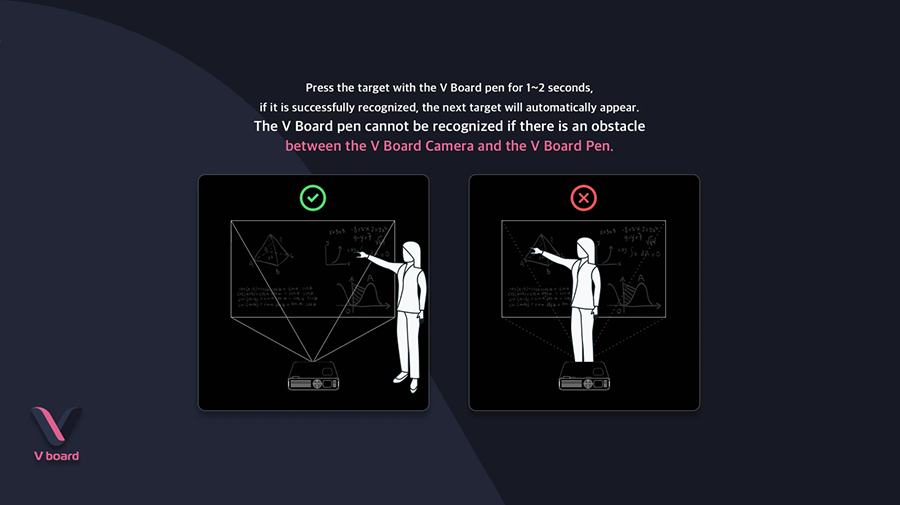
After 2-3 seconds, the target instruction to set the touch
screen will be displayed.
Press the center of the target using the pen.
There are 4 touch points, the upper left, lower left, upper right,and
lower right.
(When the target is recognized, it will move to the next one, so press and hold until the pen is recognized.)
When all 4 points are recognized, the screen disappears and the
setting is completed.
When you touch the screen with the pen can perform operations such
as click draw.

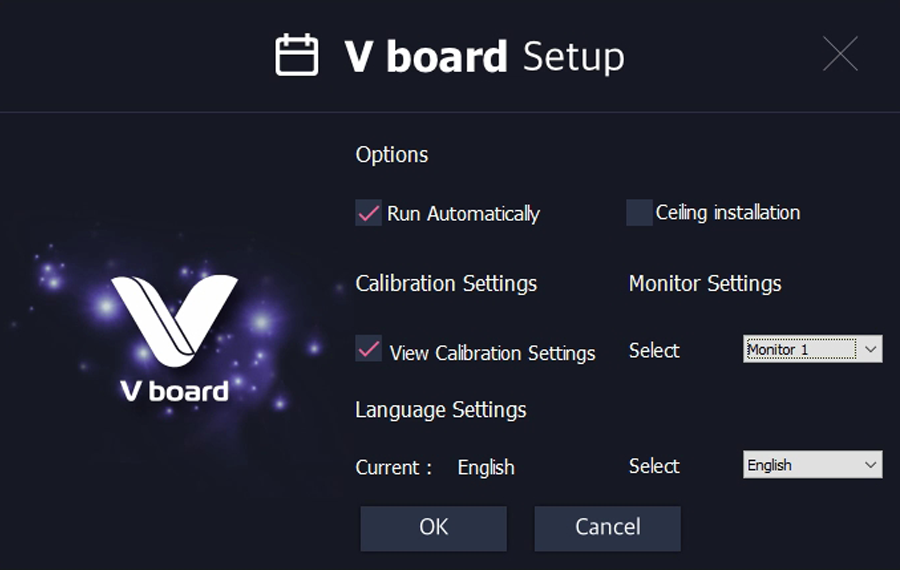
Configuration Settings

VBoardPen Setup

Auto run Program

The program starts automatically when the window opens.

Ceilling mount mode

Check if the VBoard Sensor is installed on the ceiling.

View Touch Screen Settings

Select whether to show the touch screen settings when the device is
newly connected.

Monitor Settings

In case multiple monitors are connected select a monitor to operate
the VBoardPen.
(when a projector or TV is connected to the PC)

Language Settings

You can select from 8 languages
Languages: Vietnamese, English, Korean, Japanese, Malay, Indonesian, Thai, Portuguese

Nếu bạn có bất kỳ thắc mắc gì về khóa học hãy liên hệ với ATCollabo Academy để được giải đáp nhanh chóng.

Nếu bạn có bất kỳ thắc mắc gì về khóa học hãy liên hệ với ATCollabo Academy để được giải đáp nhanh chóng.